Crashlytics
Step 1: Enable Crashlytics in the Firebase console
Go to the Crashlytics dashboard in the Firebase console.
Make sure your app is selected from the dropdown next to Crashlytics at the top of the page.
Click Enable Crashlytics.
Step 2: Enable Crashlytics in your Game
To enable Crashlytics for your project:
- Open your project's
Config/DefaultEngine.iniin a text editor. - Add
CrashlyticsEnabled=trueunder theFirebasecategory.[Firebase] CrashlyticsEnabled=true ; others entries as AdMobApplicationId, ...
Step 3: Force a Test Crash to Finish Setup
To finish setting up Crashlytics and see initial data in the Crashlytics dashboard of the Firebase console, you need to force a test crash.
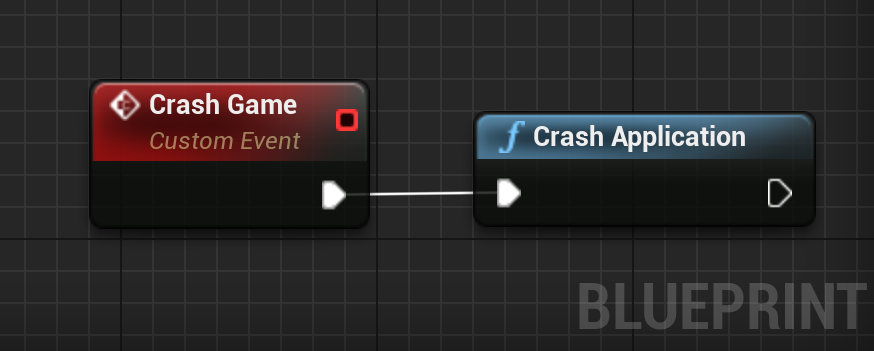
- Add code to your app that you can use to force a test crash.
#include "Crashlytics/CrashlyticsLibrary.h"
void UMyClass::MyFunction()
{
    UCrashlyticsLibrary::CrashApplication();
}
Build and run your app.
Force the test crash in order to send your app's first crash report:
Open your app from your test device or emulator.
In your app, press the "Test Crash" button that you added using the code above.
After your app crashes, restart it so that your app can send the crash report to Firebase.
Go to the Crashlytics dashboard of the Firebase console to see your test crash.
If you've refreshed the console and you're still not seeing the test crash after five minutes, enable debug logging to see if your app is sending crash reports.