Importing and using SVGs as assets
This section shows how to import SVG as assets in the UE Editor and use them in a game.
Importing from a File
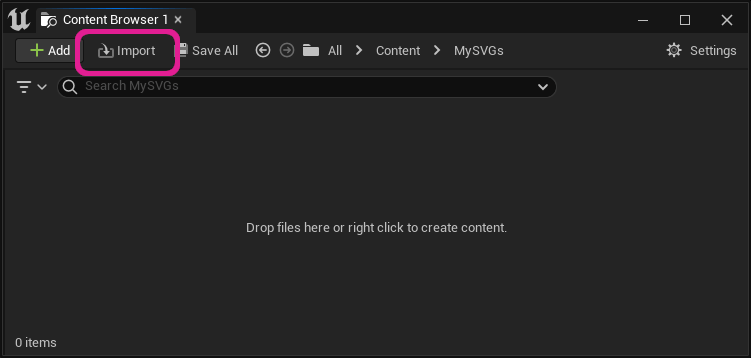
To create a SVG asset from a file, open the Editor and click on Import in the content browser.
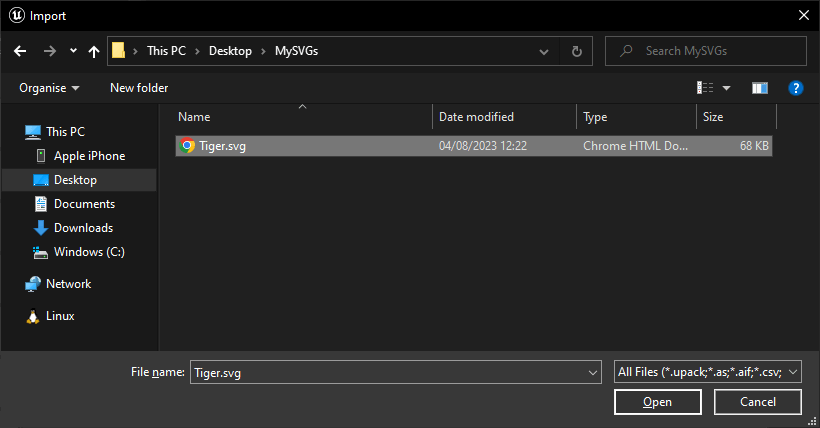
In the native content browser, select your SVG file and select Open.
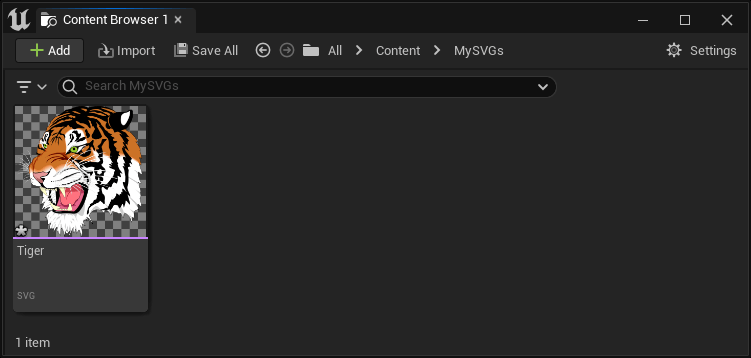
A new asset has now appeared in the content browser. If the SVG is valid, it will be displayed as icon for the asset. Hit CTRL + S to save the asset.
You can also drag and drop the SVG file in the content browser directly as any other asset.
Importing from a SVG String
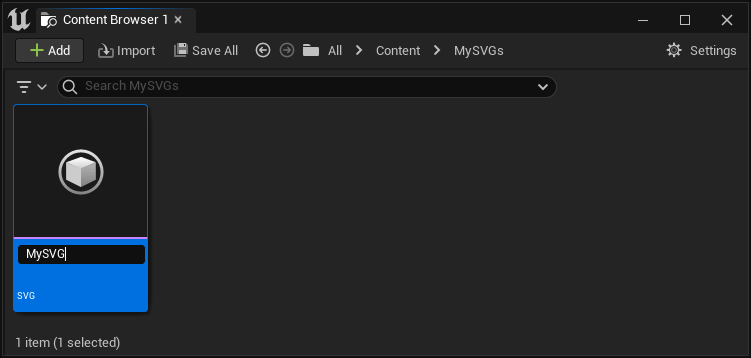
Open the UE Editor and right click in the content browser and select User Interface > SVG.

Name your asset and double click it to open the SVG editor.
Paste your SVG data in the right input box and hit CTRL + S to save the result. The rendering of the asset is shown in the left panel.

The SVG is rendered at 1024x1024 pixels in this editor and stretches to fill the space. Don't worry if you have a high definition screen and the SVG looks pixelated, it can be changed in game.
And that's it, you now have a SVG asset ready to be displayed in your game.
Hint: You can click on
Minifyto reduce the asset size.
Rendering a Texture from an Asset
A texture of a SVG asset can be created in any graph by using the following code.
// Loads the asset from its path.
USVGAsset* MySVGAsset = LoadObject<USVGAsset>(GetTransientPackage(), TEXT("/Script/SVG.SVGAsset'/Game/MySVGs/MySVG.MySVG'"));
// The interesting part: renders the asset to a texture.
UTexture2D* Texture = USVGAsset::RenderToTexture(MySVGAsset, 1024, 1024, FLinearColor::Transparent);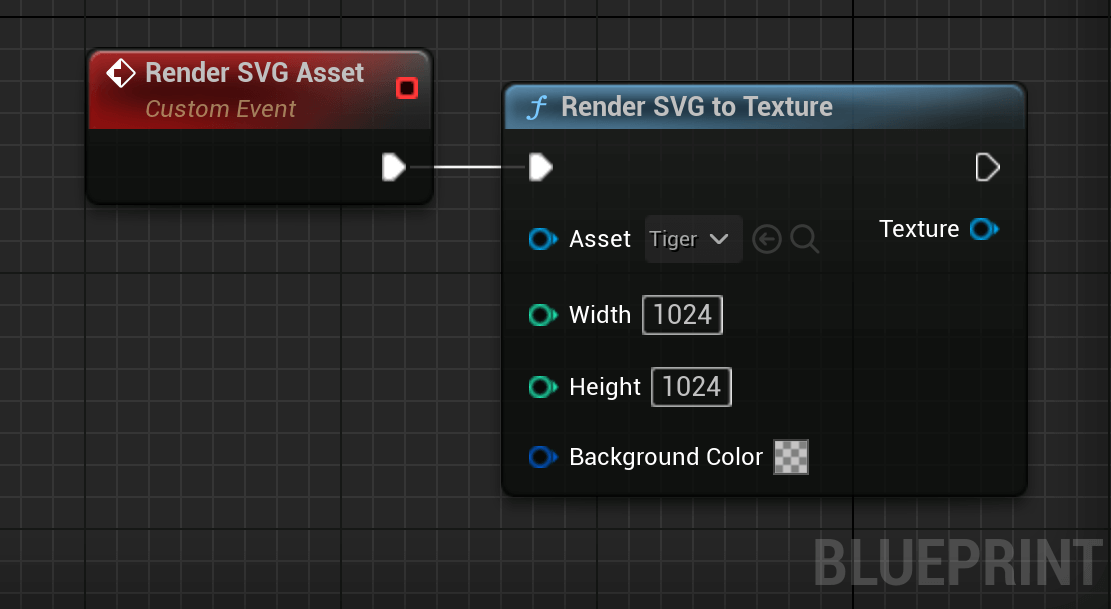
You want to edit Width and Height depending on the usage of your texture. Higher values mean better quality, but higher computational and memory cost.
Show a SVG in the UI
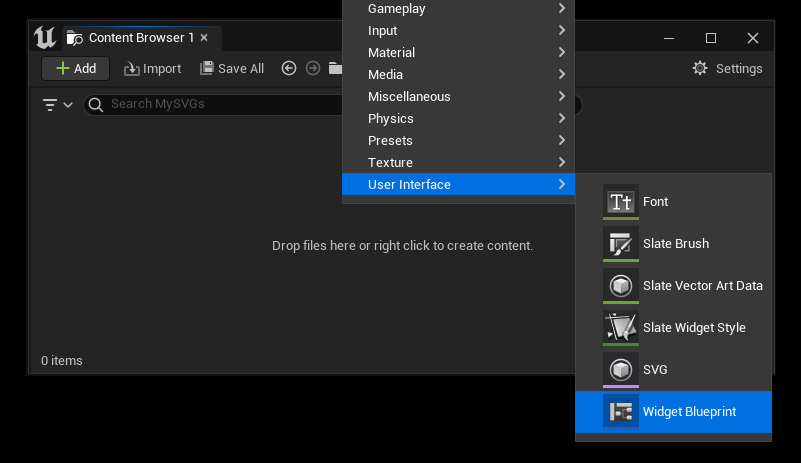
Create a Widget
If you don't have a widget to display the SVG, start by creating one. Right click in the content browser and select User Interface > Widget Blueprint.
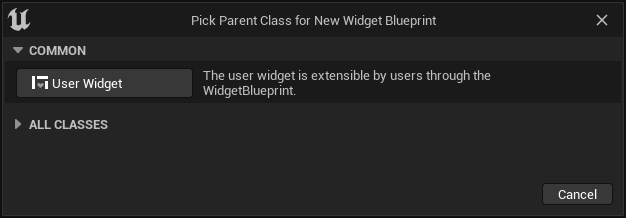
Select User Widget as parent class.
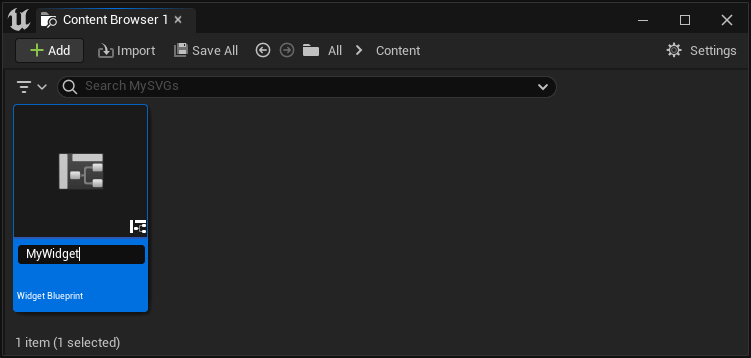
Give a name to your new widget.
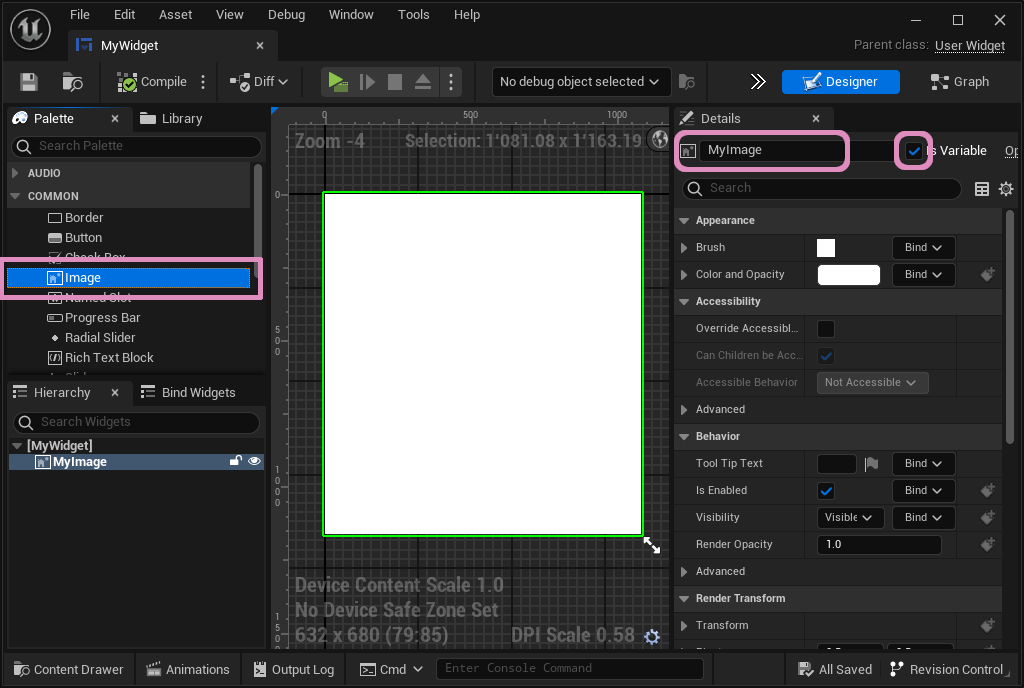
And double click the newly created widget to open the editor. In the widget editor, drag an image where the SVG will be rendered. Give a name to the image and mark it as Is Variable.
Render the SVG in a UImage
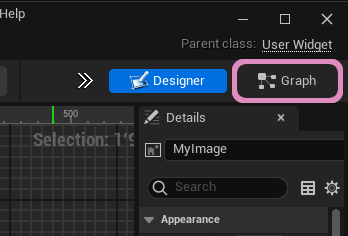
Now that we have added a UImage to our widget, we can use it to show the SVG. Start by opening the Blueprint Graph
And use the Set SVG node to render the asset inside the image.
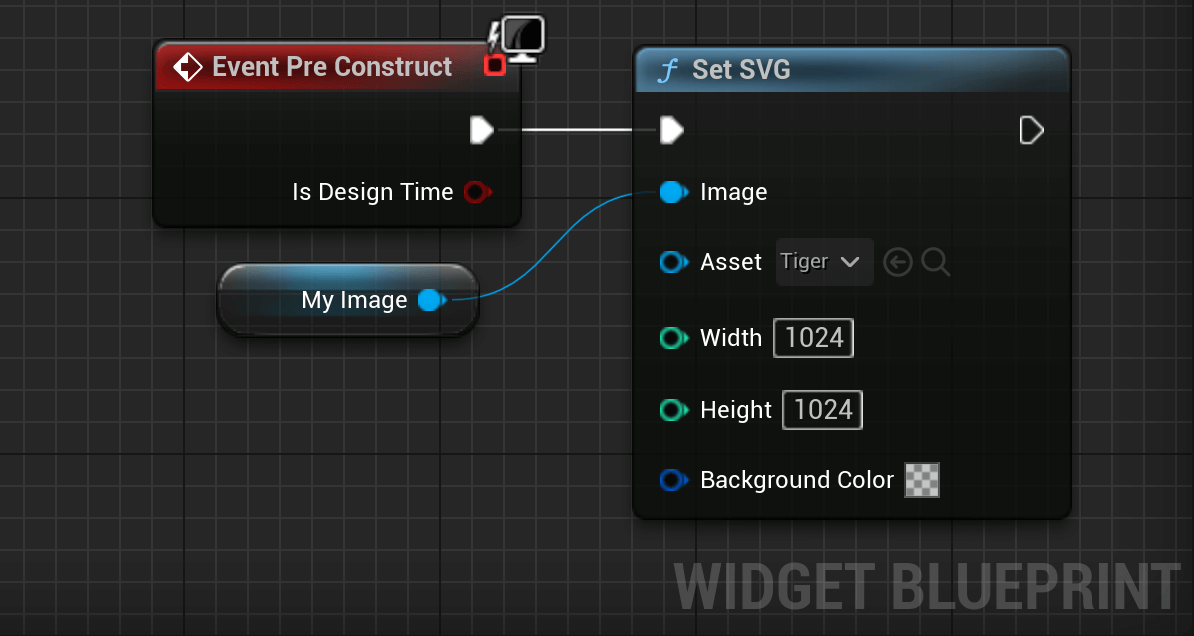
You want to edit Width and Height depending on the usage of your texture. Higher values mean better quality, but higher computational and memory cost.